CD cover design for the Futuristik Instru-City Beat Tape.
My animation blog where I will be posting my work. For followers to see what my skills are.
Thursday, July 11, 2013
Thursday, September 27, 2012
Valor Milliardo Songs About Girls Design
A fan made design I did for underground artist Valor Milliardo and he liked it so I was happy that someone liked my work. I used Illustrator and Photoshop to accomplish this design and I used brushes to create the ink effects.Like I always do I always keep my signature touch trippy and spacey mood with bright colors.
And down load Valor Milliardos mixtape on Bandcamp please support his movement.
Luna Vizual Flyer for October
Flyer I did in Photoshop for Luna Vizual GFX freelance service which it's me. I make a living by freelancing and I encourage every artist to freelance, it helps with network and builds it builds clients. Once you do good work for one individual they will stick with you for a very longtime,and they will open the doors for you to bigger corporation.Its all about if you scratch my back, I will scratch yours, that shows how much loyalty everyone have for each other. I used Photoshop for this Flyer as my application, for the photo manipulation process. I used futuristic themes because of the name Luna which means the moon and the moon is in space,so everything flow well. Just the flyer alone shows my style and what I can accomplish,I give a one percent work all the time when working with clients.Enjoy the post and hit me up for services.
Friday, August 31, 2012
Android lady I did in photoshop
I did two version of this lady with different backgrounds in Photoshop. I used references from Ultraviolet the movie to get an idea of what I was going for. My favorite is the city background version because I love how the sun shined and reflect off her skin. I am gonna do more androids to push my skill level to the limit to come out with more concepts.
Friday, May 18, 2012
The first part of the photo manipulation tutorial
The part 1 of the photo manipulation tutorial of Rihanna is now posted on the YouTube. The tutorial was started with the photo of Rihanna placed on a white background.Then, the technique that was used to separate different parts of her face was via layer cut.Finally a clean up of the photo and then the video end for another 2nd part of the tutorial. Enjoy and learn great techniques and please subscribe to the YouTube channel.
Thursday, May 17, 2012
Photo manipulation of Rihanna
This is a photo-manipulation of Rihanna that was done in Photoshop and a tutorial was also done of it. The photo-manipulation was made of filters,different types of brushes, gradient, pencil and curves that created this futuristic elegant mood. The tutorial will be posted on my YouTube channel real soon so become a subscriber, and learn the techniques that are used for manipulating photos.
Monday, May 14, 2012
In the 2d Lab working on my Demo Reel
Adobe illustrator work
These are vectors I did of my friends in Adobe Illustrator from a photograph that was provided. I chose bright colors to give it a cartoon feel but still didn't lose there features.I enjoy doing vectors a lot especially around my leisure time. Doing vectors requires a whole lot of patients, I know a lot of people that don't have that, so they just don't touch Illustrator at all. Adobe Illustrator is a whole lot of of fun building vectors on top of vectors to create wonderful art. There is no stopping me from using this program and I am encouraging many of you artist to use Adobe Illustrator.
My vector work:
Futuristic Ninja Run Cycle Test
Wednesday, May 9, 2012
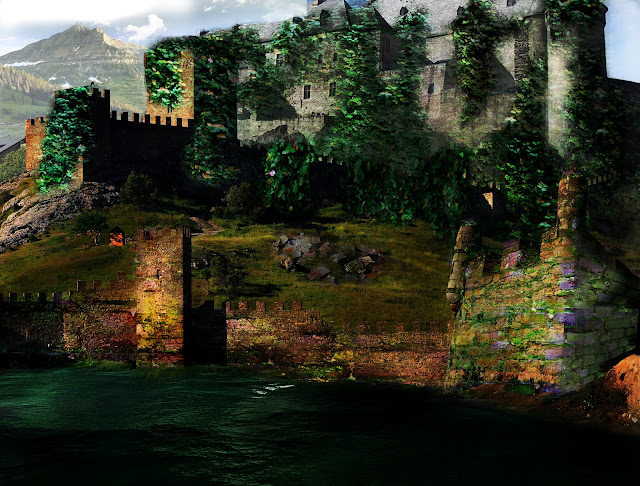
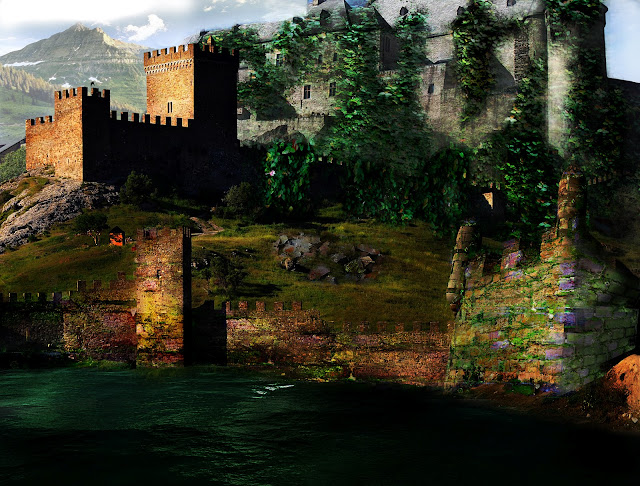
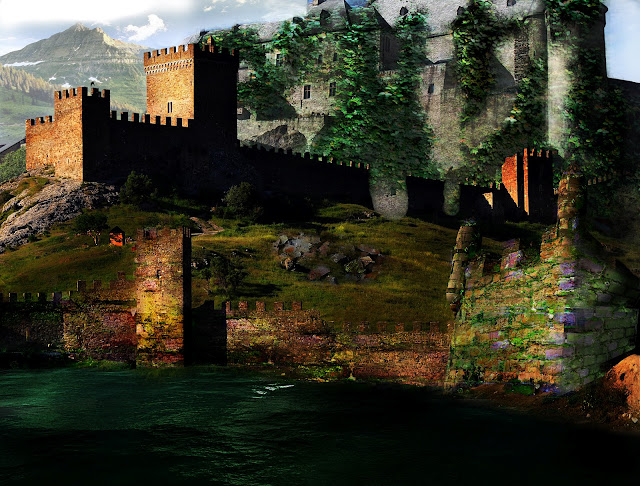
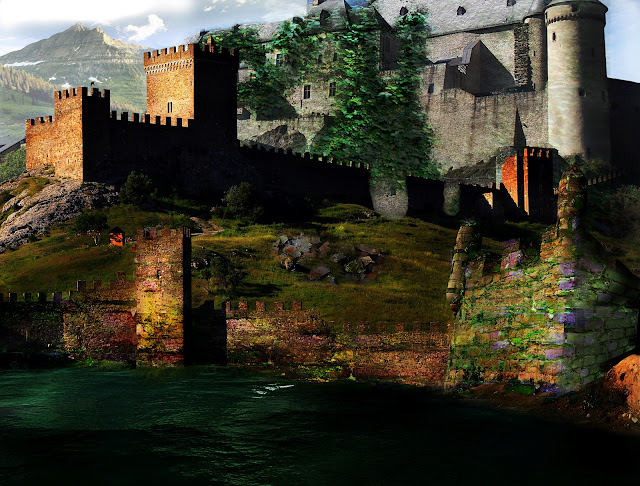
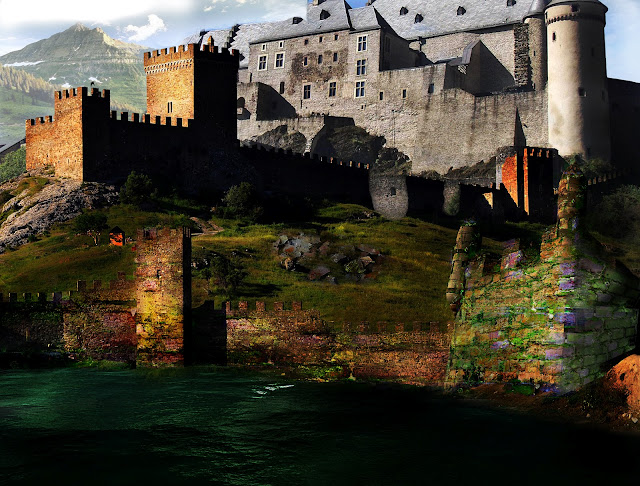
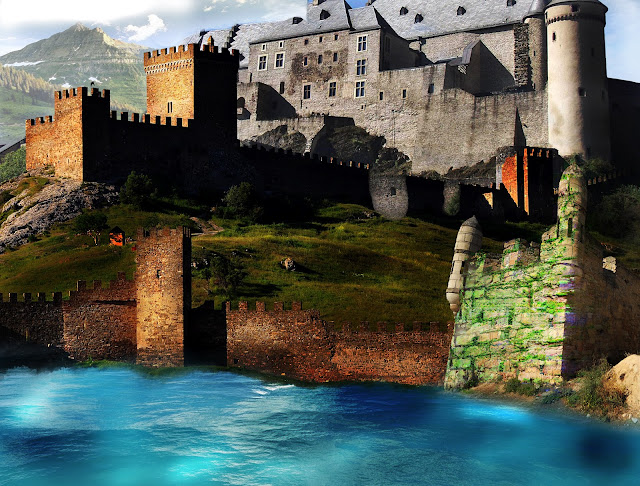
Matte Painting and the process
Matte Painting is a painted landscape representation that is used in Film,Video, and CG. One reason for Matte Painting is that some scenes are impossible to film so artist create matte paintings to make the landscape believable to the viewers eyes. If you wanna see some great matte painting visit mattepainting.org.
Now in my case I used Adobe Photoshop and Images to create my matte painting. The concept I was going for was an "Uncharted: Drakes Fortune" (Sony PlayStation video game) feel because I loved the video game so much and it inspires me. The way I came about this I was playing "Uncharted: Drakes Fortune" and I made it to "Chapter 6: Unlocking the past" I was blown away by the fortress, the level consist of broken down walls and rusted cranks and it was just beautiful. The vines and trees were covered all over the fortress, giving it that ancient look and feel while playing the video game.
Below are my steps:


Monday, April 16, 2012
I am interning at Frombie and I love being an intern my responsibilities are creating downloadable desktop wall papers. I would love for everyone to download these wall papers and have them displayed on your desktop. And please become a fan of Frombie and sign up for the newsletters I promise you will be pleased.
so go ahead and visit them at www.frombies.com.
Thursday, April 7, 2011
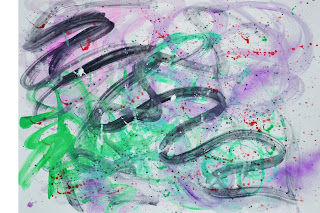
Abstact Painting
These are 18 x 24 abstract painting I did with a fellow artist named
Lavan Maddox. He took my original paintings and change it into different
color variations. I also have some crazy ideas for this abstract
painting like using them as backgrounds for brochures,flyers,websites,posters,etc. I encourage you as artists to make your own abstract paintings, scan it
and start to develop your own personal library. To make your abstract
painting more interesting I would suggest you use filters from Photoshop
to develop cool effects and you will see how beautiful your result will be.
These are the different color variations :

Tuesday, March 29, 2011
Cartoon face I did with Adobe Photoshop and Adobe Illustrator
This is the steps I did to create this wonderful cartoon face illustration.
I started with it in Photoshop then I did a quick sketch of the face with the brush tool.
Then I save the file as a PSD file in Photoshop and then I imported it in Adobe Illustrator. The I took the pen tool in Adobe Illustrator and outline the sketch. (I made sure I locked the layer of the sketch so I don't interfere with the sketch)
Then I delete the the blue sketch in Adobe Illustrator to show only the line work.
I started with it in Photoshop then I did a quick sketch of the face with the brush tool.
Then I save the file as a PSD file in Photoshop and then I imported it in Adobe Illustrator. The I took the pen tool in Adobe Illustrator and outline the sketch. (I made sure I locked the layer of the sketch so I don't interfere with the sketch)
Then I delete the the blue sketch in Adobe Illustrator to show only the line work.
I took the saved line work from Illustrator back to Photoshop and I colored it. And this is what the Photoshop final result came out to be .
Subscribe to:
Posts (Atom)